How to Add a Favicon to Your Jekyll Site
Adding a favicon to your Jekyll site is a simple way to personalize your website and make it easily recognizable in browser tabs and bookmarks.
What is a Favicon?
A favicon is a small icon that appears next to your site’s title in browser tabs, bookmarks, and on mobile devices. It helps users quickly identify your site among many open tabs.
How to Add a Favicon in Minimal Mistakes
- Generate Favicons:
- Use RealFaviconGenerator to create a .zip of the set of favicon images and files for your site.
- Just upload the picture you want there and they will do the rest of the work for you.
- Add Favicon Files:
- Place the generated favicon files in your site’s
assets/images/favicon/directory.
- Place the generated favicon files in your site’s
- Insert Favicon Links:
- Edit
_includes/head/custom.htmland add the following lines:
<!-- Favicons --> <link rel="icon" type="image/png" href="/assets/images/favicon/favicon-96x96.png" sizes="96x96" /> <link rel="icon" type="image/svg+xml" href="/assets/images/favicon/favicon.svg" /> <link rel="shortcut icon" href="/assets/images/favicon/favicon.ico" /> <link rel="apple-touch-icon" sizes="180x180" href="/assets/images/favicon/apple-touch-icon.png" /> <link rel="manifest" href="/assets/images/favicon/site.webmanifest" /> - Edit
- Preview Your Favicon:
- After rebuilding your site, open it in your browser. You should see your custom favicon in the tab, like this:

Final Result
Your site will now display your chosen favicon across browsers and devices, giving it a professional and unique touch!
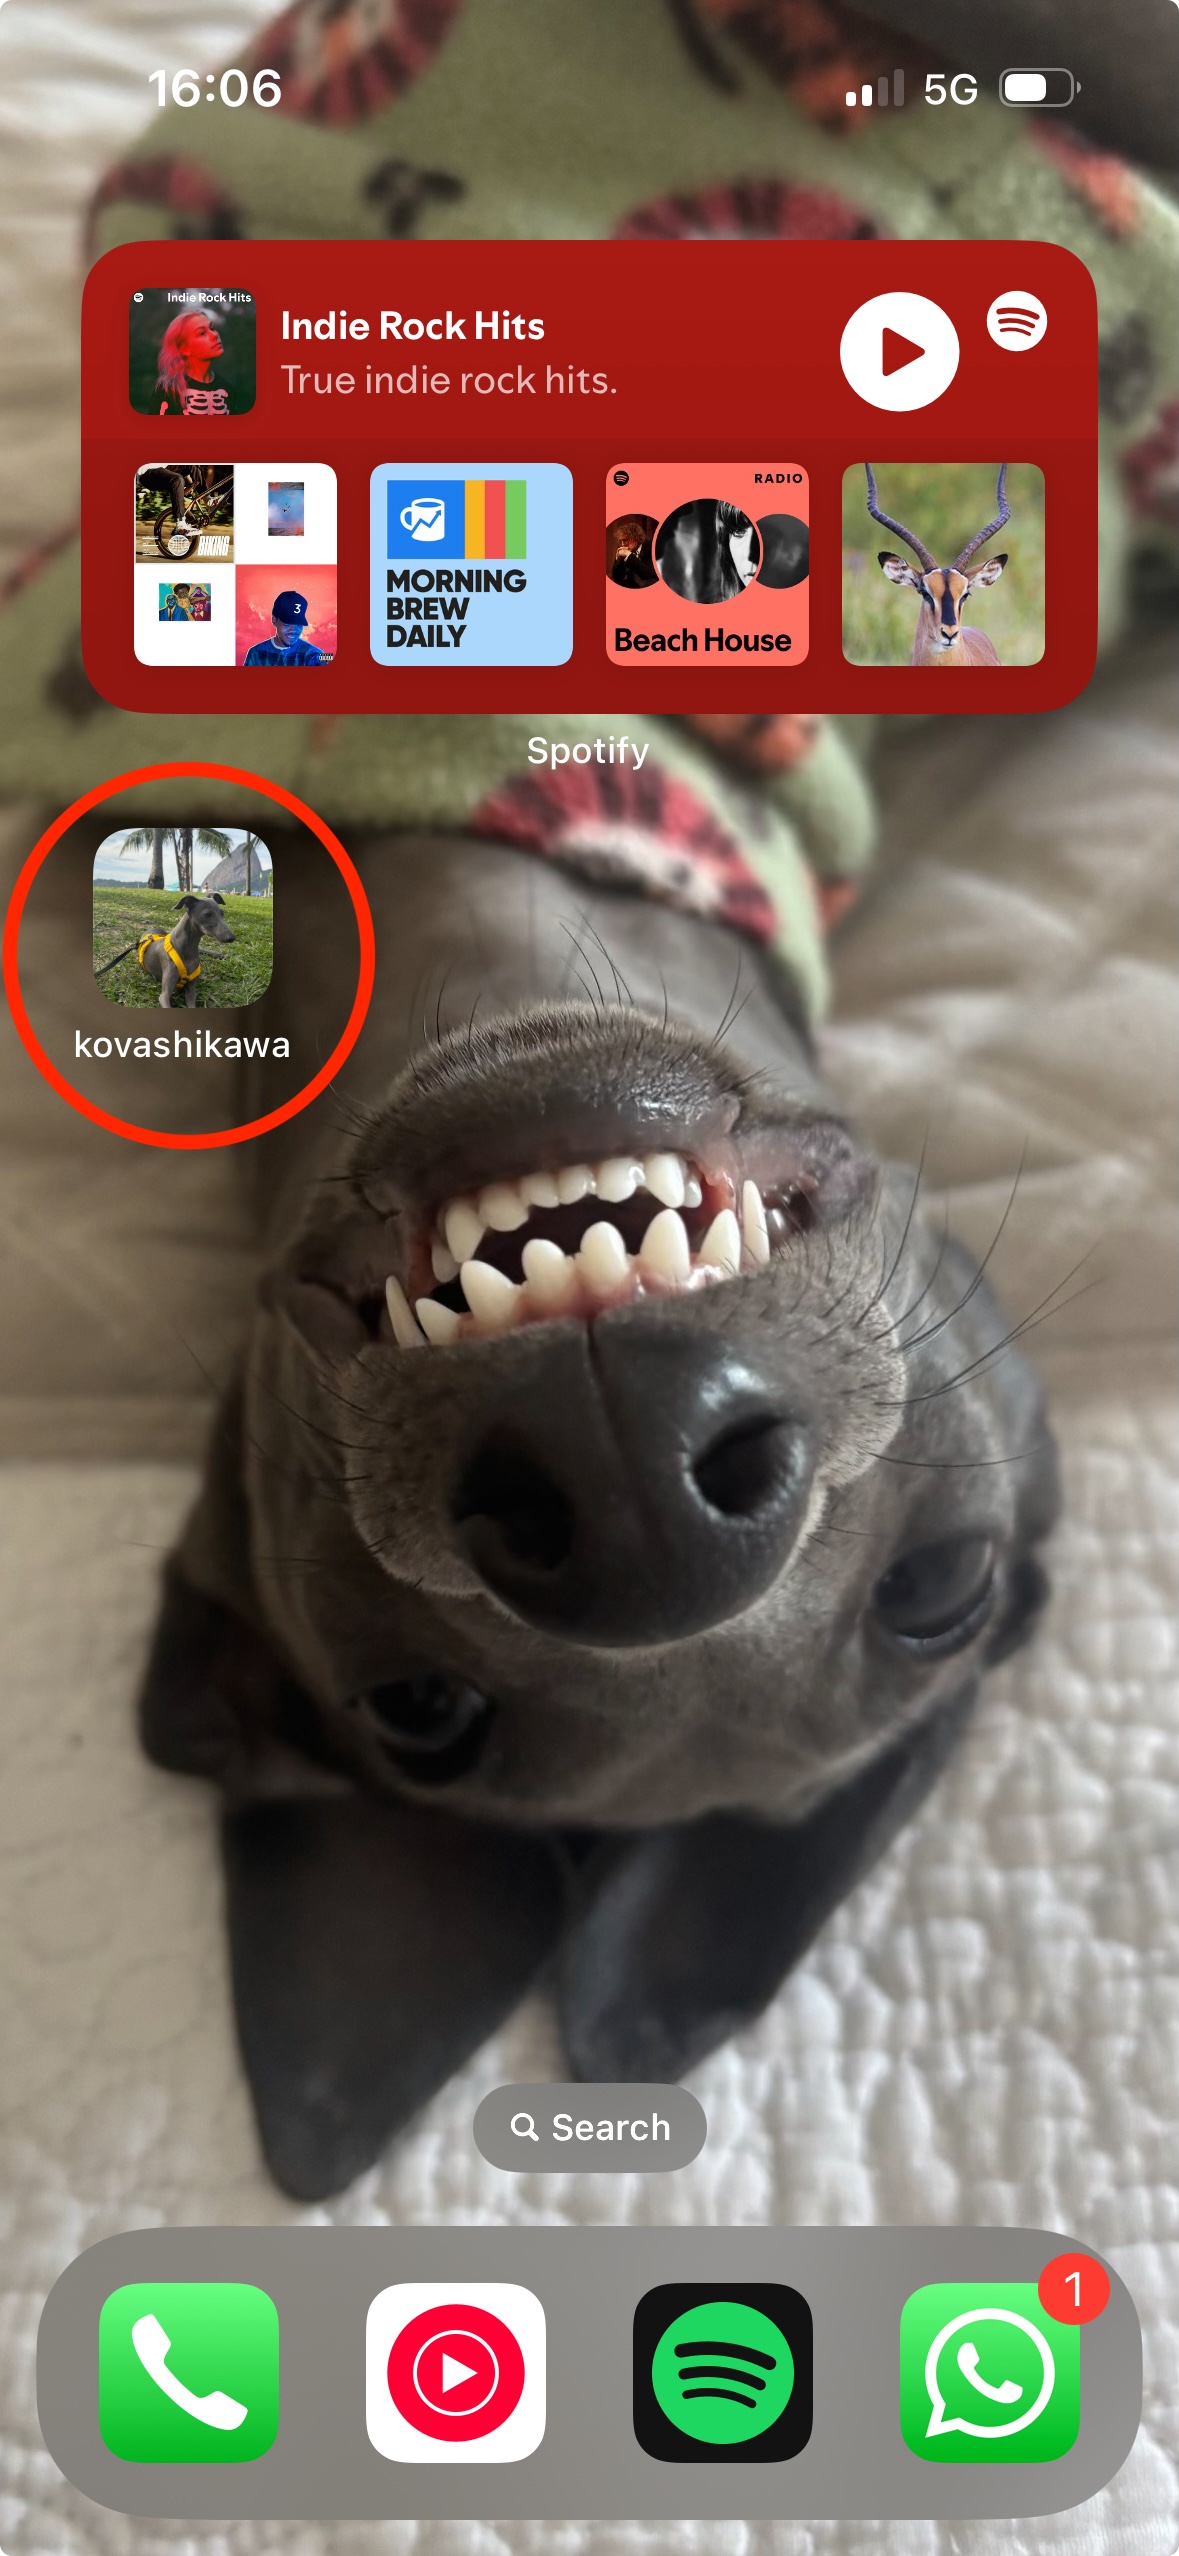
Bonus point, you can save it to your iphone’s home page and it can look something like this:
Happy customizing!